
Obviously the cab was dirty and dusty but luckily apart from a couple
of bashed corners it was still structurally sound, and I would
come to discover pretty solidly built actually. So much so
that I wouldn?t in fact strip it completely and dismantle all
of the panels, but I would only take it back to a
bare
carcass. The first job was to strip it out so that I could begin to
check and repair the actual physical cab structure and once the insides
had gone I took out the monitor shelf and coin door, then removed the kick plate and the
damaged T Moulding.
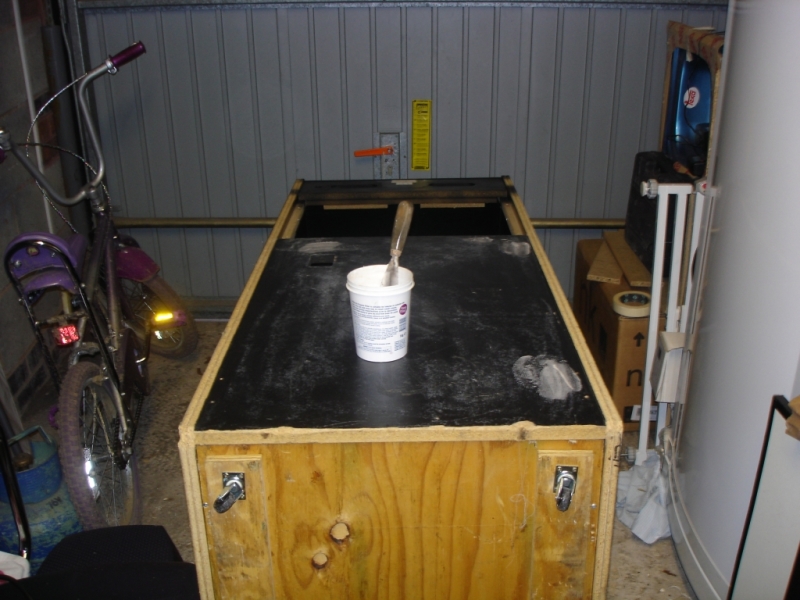
Once it was gutted I could lie the cab down on its back and
sides to work on it and I fitted some temporary wheels
to the bottom so I could move it around more easily.
That allowed me to spin it round to get to the
sides
as I needed to, and basically the main job just involved a lot of
filling and sanding in preparation for a new finish. It was fairly
standard fare filling and sanding the sides of the cab but I had
to reconstruct two of the bottom corners where they had been
bashed. I tried using an ordinary wood filler but it didn?t really
work out the way I wanted it to.
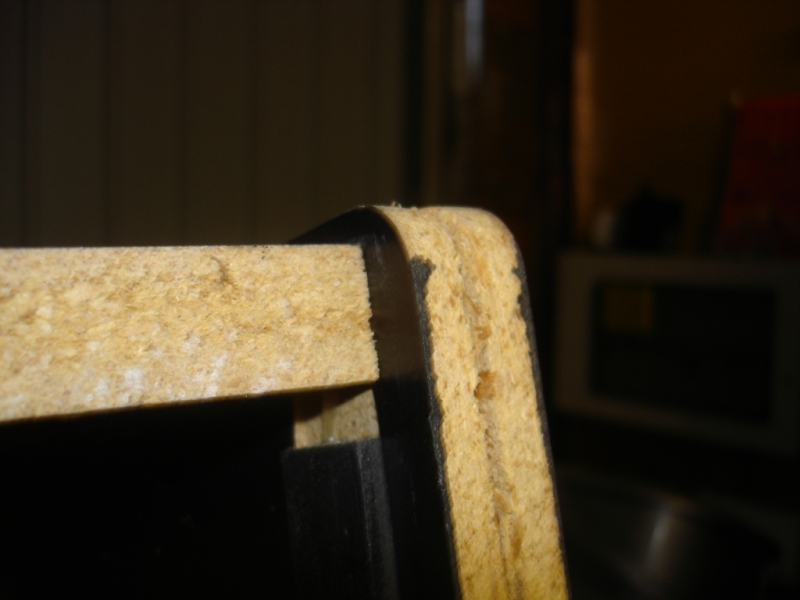
In the past I've used wood fillers and even sawdust and chippings mixed with wood glue, but this time I tried something slightly different, a glue gun (damn themz hot!) Yes just an ordinary glue gun. I made a mould around the edge of the cab just by bending stiff card around it to form the rounded edge, then tacked it in place with small nails and squirted hot glue into it. The glue knitted really well with the existing bashed edges and moulded right up against the card. Once it was dry I just removed the card and rubbed it down a little with fine sandpaper.
Will it survive a severe thrashing? No. Will it be strong enough to survive day to day to use? Absolutely.
With the corners taken care of, and it was only the two back corners at the bottom of the cab, obviously where it has been tilted back to be moved, I had to think about the routed edges. They would be mostly covered by new T Molding but if I didn?t get exactly the right width then there would be some bare timber showing through. All I did was apply a cheap matt black spray paint from a car repair shop and it worked a treat. Any little bits that got bumped later or showed through could be touched up with a black permanent marker pen.
Once that was done I had to think about getting a satisfactory finish
on the front, back and side panels, and really the options
were paint or a vinyl covering, and I decided pretty early
on that I wouldn?t use paint. I was concerned that I wouldn?t
get a smooth and good looking finish with a brush or roller
so the only other option was to spray it and apart from having
no equipment to do that, my garage is not really set up for
spraying paint around. I did consider some kind of speckled
or textured paint because then it wouldn?t matter too much
how smooth the brush finish was as the speckling would hide
it to some degree, but I didn?t find anything I liked, and
throwing a bit of sand in the paint is a little too amateurish
even for me. I settled on a vinyl covering and it came down to a straight choice between
Happ Vinyl
and Fablon.
In the end, and for the only time in this whole exercise, I made the choice on price alone. Yes the Happ Vinyl would have looked better when finished but it was the pricier option and it was shipped from America. Fablon I could buy either by the roll from B&Q or Wilkinsons or by the metre from Wallpaper Supplies.
The only trouble with a smooth finish Fablon is that it will show imperfections in the underlying surface, so the finish below it had to be good. If the cab had been in worse shape and had more knocks, dents and scrapes then that would have dictated the finish I applied, and the decision would have been different, but considering that this was a refurb project rather than a new build the finish was surprisingly good. In a couple of places if you look closely you can see imperfections but the finish is matt and not high gloss which helps hide things a little too.
Applying the Fablon is really easy but you need to ensure that the surface and the air if possible is dust free because if any dust gets stuck to the glue on the back of it, it can be difficult to get off, and even if you do manage to get it off you can leave a scar on the Fablon itself.
Once applied, the overhanging edges can be trimmed with a sharp Stanley knife and any small rectangular pieces of Fablon can then be applied to your top lip in a satirical parody of Charlie Chaplin. You family will find this most amusing. Oh yes, they will.
They may groan and call you stupid, but inside they are laughing as much as you are. They just can't show it. It?s the law.
Copyright © JamesOnline.net. All rights reserved.