
Not being one to shy away from a challenge, I decided to make my own keyboard hack to use on my
crapmame. I've never done one before so everything I knew about them was from
reading other people's experiences and write ups, and I've written enough about them so it was time to walk the walk rather than
talk the talk.
Now don't get me wrong, they are not without their problems and if I was building a new cab for myself I would use an I-Pac, but for its limited use in my crapmame running a DOS MAME cab it would be fine and should be fit for purpose.
Now don't get me wrong, they are not without their problems and if I was building a new cab for myself I would use an I-Pac, but for its limited use in my crapmame running a DOS MAME cab it would be fine and should be fit for purpose.
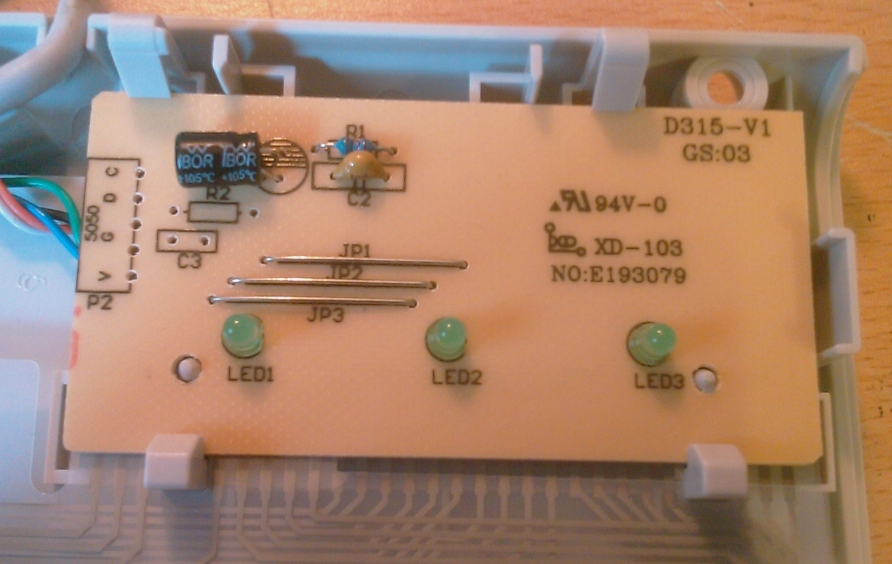
The keyboard I used was an old Fujitsu Siemens one with a PS/2 connector which worked out really well to be honest. Once I'd opened
it up you can see the controller board and where it comes into contact with the 2 overlays that make up the inside workings.
The nice small controller makes it ideal for a keyboard hack for those with a steady soldering hand.
The 2 overlays really made the job much easier as it meant I didn't have to try each combination of inputs on the controller to work out which combo resulted in which key press. I simply worked out which keys I would need to run my cab and marked them out on the overlays with a permanent marker before removing and carefully separating them.

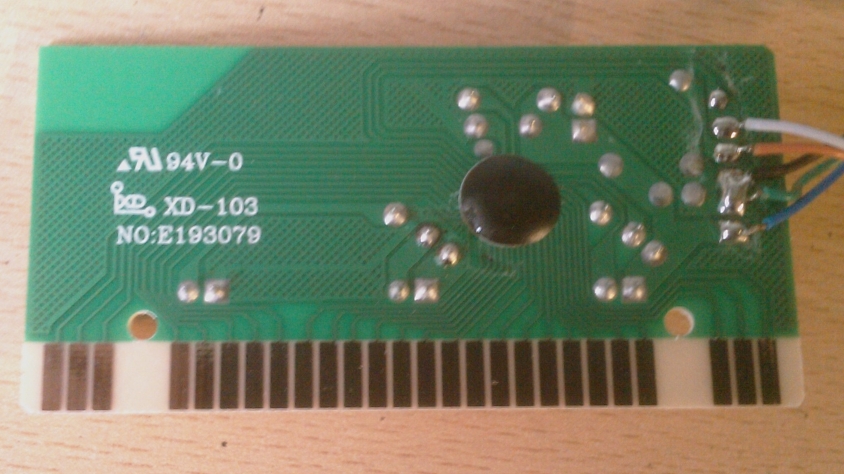
Once separated I marked the bottom one up the same as the first so all my
required keys were marked out, then I numbered each trace on the overlays and controller from 1 to 26, the top overlay from 1 to 8 and
the botom one from 9 to 26, then came the laborious task of tracing each one back to the
controller interface
to see where it went.
I traced each one back on the top overlay and then each one on the bottom overlay so that every button I needed now had two numbers associated
with it, one between 1 and 8 and one between 9 and 26.
These sets of numbers I then added into a spreadsheet so I could easily see how many contacts I would need to solder onto the board.
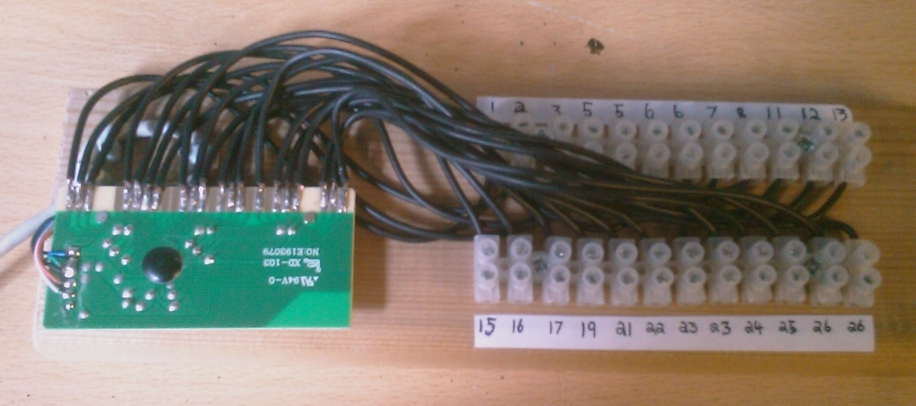
As you can see from the spreadsheet I didn't need every contact from 1 to 26 but some I needed more than once so to make things easier I would connect them to a block connector, and any that were needed four times or more I duplicated in the block connector which meant I needed a total of 24 connections. Here you can see how I've numbered the block connector points and how I have duplicated some of them with a simple link.
These sets of numbers I then added into a spreadsheet so I could easily see how many contacts I would need to solder onto the board.
As you can see from the spreadsheet I didn't need every contact from 1 to 26 but some I needed more than once so to make things easier I would connect them to a block connector, and any that were needed four times or more I duplicated in the block connector which meant I needed a total of 24 connections. Here you can see how I've numbered the block connector points and how I have duplicated some of them with a simple link.
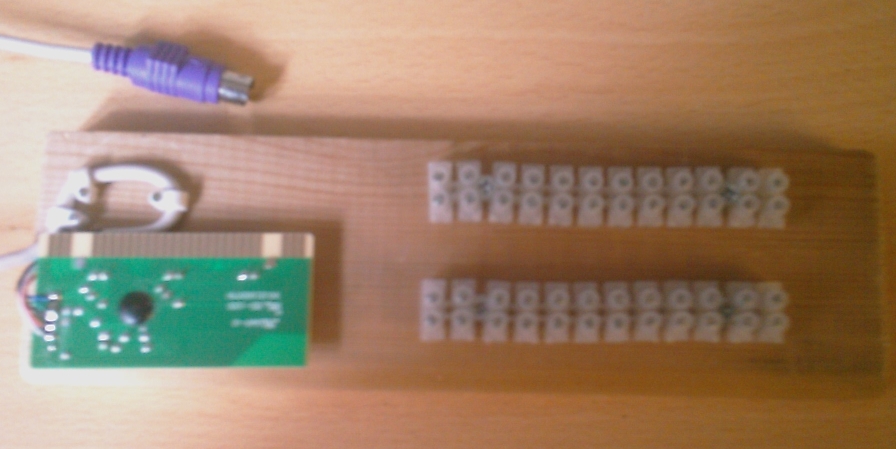
Here is the finished article with every necessary contact on the controller connected to a point on the block connectors, and
here it is in my crapmame ready to be hooked up to each button and
joystick which just means looking at the spreadsheet to see which two connector points each control should be connected to, so
for example the Player 1 Fire 2 button should be connected to 5 and 13.
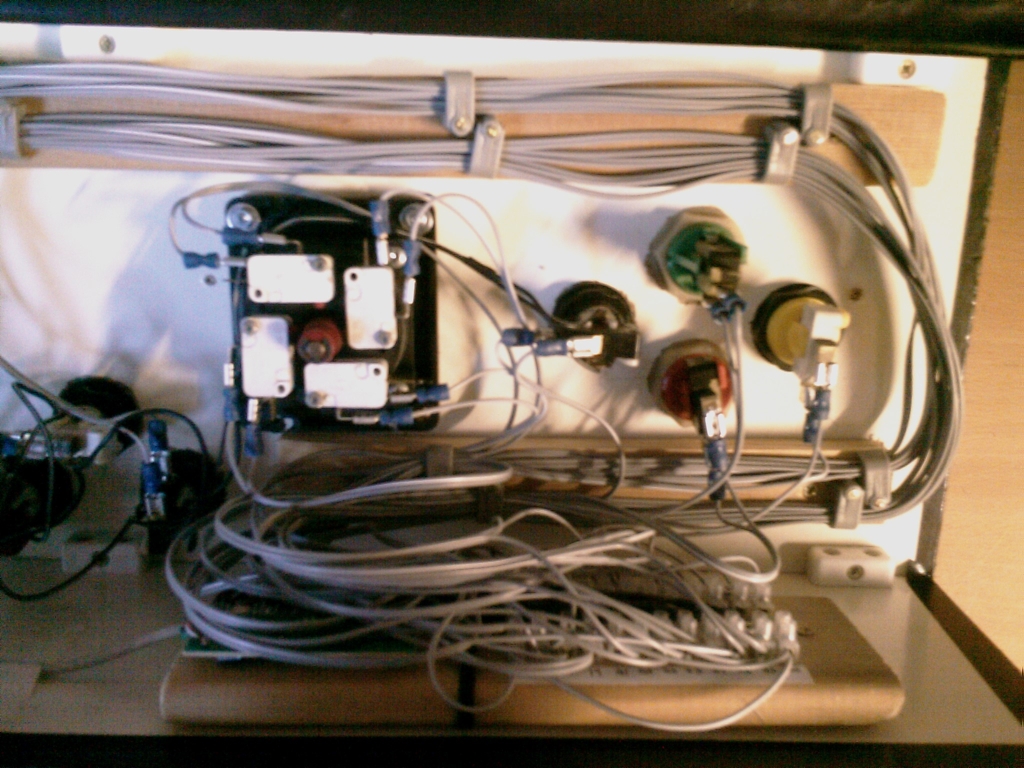
Now came the laborious, and sometimes fiddly task of connecting all the controls to the necessary connector block while trying not to disturb the ones already done. It won't win any awards for beauty but it is most certainly functional, and cheap too.
Now came the laborious, and sometimes fiddly task of connecting all the controls to the necessary connector block while trying not to disturb the ones already done. It won't win any awards for beauty but it is most certainly functional, and cheap too.
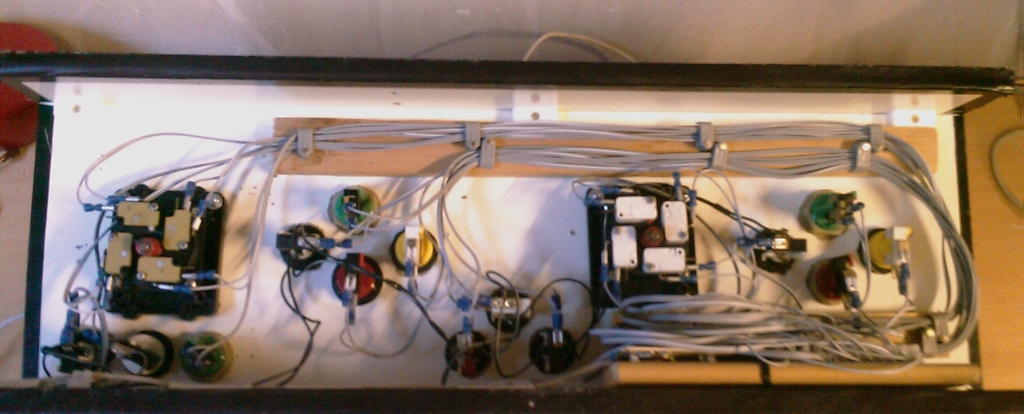
Here it is in all its glory.
Copyright © JamesOnline.net. All rights reserved.